

")


This post was originally published on June 13, 2022. It was updated on January 3, 2024.
Are you a makeup beginner? If so, the world of makeup can feel super overwhelming.
There’s no one way or right way to do makeup… there’s finding the best way for you to apply makeup, as makeup is deeply personal. As you might have heard me say before and as quoted from my book, makeup is our most intimate accessory.
Finding your own unique makeup routine and knowing the best option for each category of makeup is going to make your life so much easier.
So yes, while you can easily continue binge-watching YouTube videos and trying your luck with makeup tutorials (spoiler alert, they don’t work; read why here), the best way to learn how to wear makeup is by investing in your personalized education, which lucky for you is my specialty. I’m so thrilled to be a part of your makeup journey and would love for you to comment below with one of your favorite tips.
This post is brought to you by my Learn Makeup in 5 Days Course.
If you want to achieve a polished and confident everyday makeup look, then you’re in luck! I teach that (and so much more) in my course, Learn Makeup in 5 Days. The course is almost like the perfect beginner makeup kit (without having to buy anything).
Listen to this post! Apple | Spotify | Google
Introduction: The Business of Beauty
The truth is, there are so many makeup bloggers and vloggers out there making YouTube videos and makeup tutorials, and it can be hard to know which recommendations to follow and which to ignore. And how about finding a really simple look? I mean, that’s hard to find (and there’s a good reason for that, simple doesn’t sell products….)
Most of my students come to me after years of trying to DIY their makeup and feeling defeated, while others know right away they need to learn from a credible source. The choice is yours.
I’m not here to sell you another Urban Decay palette or hyaluronic acid serum. I’m not here to list out the must-have products of the season, or share my holy grail concealer with you. There’s already enough people doing that. And the last thing you probably need is another beauty product in your kit you don’t know how to use. And even if I did, those products would only work for you if we shared the exact same skin type and skin concerns and skin tone.
I am a makeup teacher.
My advice, though generic on a post like this, is applicable to everyone. My ultimate goal as an educator is to bring forward your natural beauty and help you elevate your confidence in your makeup skills. Whether you want to master a simple makeup look or you are looking to know how to go full glam, I’m here for you to teach you all you need to know to get started.
I’ve always said, buying the fanciest, most expensive, most professional or most “buzzed-about” tool will NOT get you better results. Buying the trendiest makeup products will not instantly turn you into a makeup pro or hide all of the “imperfections” you want to hide.
It’s not about the makeup, it’s about the knowledge.
Choosing the “right” products means learning about their formula, their ingredients, how they will suit your specific skin type, and how best to apply them.
Don’t worry, this is not just another step by step tutorial where I will tell you to do this and do that and you’re done.
I’m going to walk you through a four-step application routine that you can tweak to suit your skin, preferences, and lifestyle. My goal is not to give you a cookie-cutter tutorial. I want to guide you and help you to uncover your most beautiful and most confident self-using a simple everyday makeup application that even beginners can feel comfortable doing.
Ready? Let’s go!
Recommended Reading: Makeup Dupes: Splurge vs. Save
It’s not about the makeup, it’s about the knowledge.
Choosing the “right” products means learning about their formula, their ingredients, how they will suit your specific skin type, and how best to apply them. Don’t worry, this is not just another step by step tutorial where I will tell you to do this and do that and you’re done.
I’m going to walk you through a four-step application routine that you can tweak to suit your skin, preferences, and lifestyle. My goal is not to give you a cookie-cutter tutorial. I want to guide you and help you to uncover your most beautiful and most confident self-using a simple everyday makeup application that even beginners can feel comfortable doing.
Ready? Let’s go!
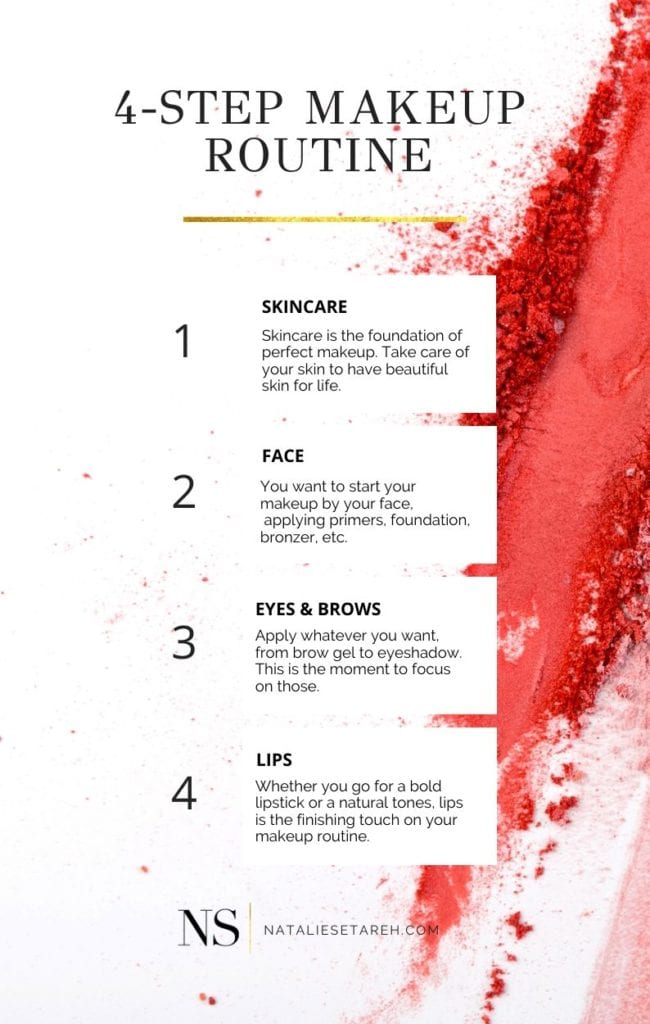
Step 1: Skincare
First thing, So, the first step is not even about makeup. It’s about skincare! I’m probably safe in saying that we all aspire for our skin to have a consistent healthy glow. And the best way to achieve that is through our skincare. Period.
Skincare is like brushing your teeth, you do it at least twice a day, morning and evening before bed.
You want your skincare routine to do a lot of of your heavy lifting in terms of your skin goals. Do you have dark spots or dark circles? You’ll want to make sure you are addressing them especially at night. Fine lines is a right of passage for all of us who age, so if you want to minimize the appearance or slow the coming of fine lines, you’ll want to make sure you have a skincare regime in place.
Preparing your skin for makeup *may* look different, depending on the day, how much sleep you had, the weather, and the nature of the day (long day, short day, inside/outside, etc). It could also very well be your skincare routine — it all depends.
Recommended reading: Skin Care vs. Skin Prep if you want to dive in more on skincare vs. skin prep.
But you cannot skip this step — you cannot apply makeup to naked skin. It’s an absolute no no, especially if you want a that flawless look.
My favorite skin prep products hail from Sonia Roselli beauty. They are all Natalie-approved (and I have 2x each kit).
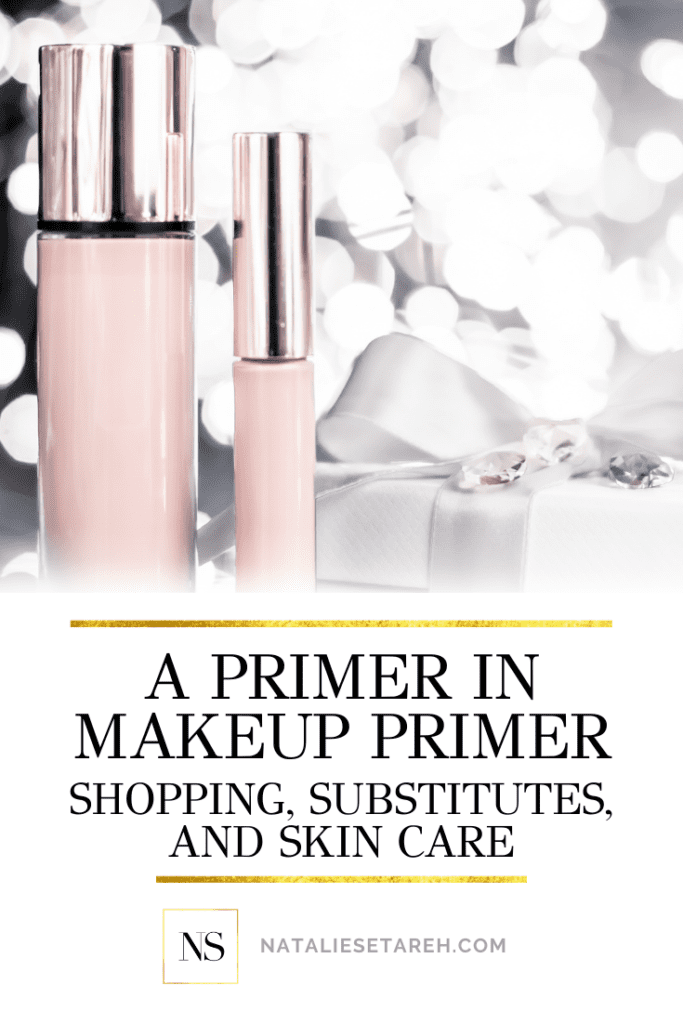
What About Face Primers?
Face primers have become hugely popular in the last few decades and they can be a great way to help extend the life of your makeup or achieve a certain look. However, they are not necessary for most people when skincare and skin prep are in place.
This doesn’t mean you can’t have skin imperfections. We all have imperfections in our skin that we notice but nobody else does. But, taking care of your skin daily is so important. It will improve your skin health, and it might reverse or slow down things like acne and signs of aging.
Recommended reading: A Primer in Skin Primers >
What If I Don’t Know My Skin Type?
If you don’t have a skincare routine yet, go ahead and grab my free, value-packed skin type guide. This guide is free because it should be! Everyone should know how to determine their skin type and how to care for their skin.
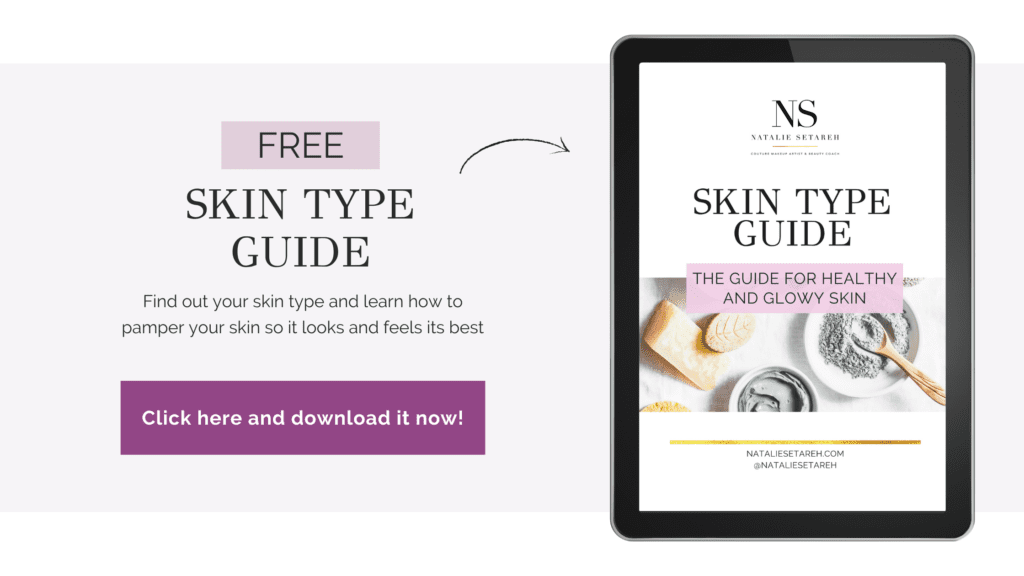
Skin Types included in the guide:
- oily skin
- dry skin
- combination skin
- mature or aging skin
- acne-prone skin
- (touch on pregnancy skin)
I share all kinds of tips about buying the right skincare products for your skin type and so much more. Also, don’t forget to eat healthy food and drink lots of water. This will help you to have amazing skin even without makeup!
Step 2: Complexion
Foundation
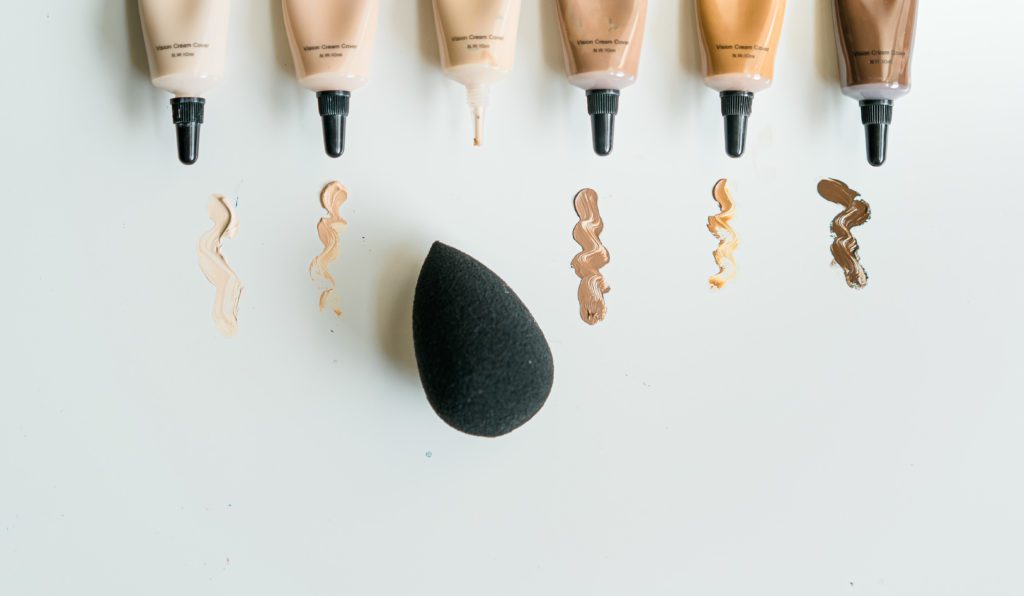
Once again, because of the content that overflows the internet, it’s easy to fall into the false belief that you need to use tons of makeup to achieve a flawless makeup application. With so many different makeup products out there, it’s hard to know what is right for you and your skin color or skin tone.
I would say more of my clients and students want foundation that gives us a natural-looking coverage or a minimal makeup look. In that case, it’s really important to invest time and energy into Step 1 and also understand all the different types of foundation formulas, from sheerest (transparent) to full coverage (opaque).
Recommended Reading:
How To Find Perfect Match for Your Undertone >
Foundations In My Pro MUA Kit >
Applying Foundation: Things To Think About
Picture from my book, Be Your Own Makeup Artist
My go-to formula is a liquid foundation.
Liquid foundations come in a wide-variety of formulations for all different skin types, that’s why it’s a good idea to really invest in Step 1. Liquid foundations are foundations that are pumped out of a tube and can easily be applied with your finger, brush, or sponge.
There’s no “best technique” to applying your foundation but here are my three most preferred techniques:
- When I want to build my foundation (read, have more coverage), I’ll apply using a buffing brush. I demonstrate this technique inside my Learn Makeup in 5 Days: Makeup For Beginners course.
- When I’m in a hurry, I’ll use my fingers to apply and blend my foundation. I demo this here on IG.
- When I have a little more time or if I’m feeling particularly oily that day, I’ll go in and use my paddle shaped foundation brush. Check out my makeup brush guide here >
Some foundations are self-setting. Read the foundation bottle or packaging! If it doesn’t say self-setting anywhere, assume it’s not.
If it is a self-setting foundation and you are 100% sure you are using the right formula for your skin type, trust that it is. Adding extra setting powder (especially loose powder or pressed powder) to it may make the foundation appear cake-y over time.
If it isn’t self-setting, you’ll want to use a setting or translucent powder to lightly set your foundation.
I outline all the different types of powders and why/when you’d want to use which one in my book, Be Your Own Makeup Artist.
If you want to use a setting spray, wait until the very end (or unless it instructs you differently).
Again, these are all tips and tricks that work for me. They may or may not work for you. That’s why it’s a good reason to invest in your makeup education.
Concealer
Like foundation, the use of concealer is really going to depend again on your skin type, the formula of the foundation you are working with, and your coverage preference.
YouTubers and online makeup artists can get away with heavier makeup (and applying liberal amounts of concealer to their faces) because they are on air and are being filmed in studio lighting. Should you see what they look like in natural lighting, I guarantee you it’s going to look pretty cake-y.
I use concealer without foundation only when I want to cover up small blemishes or dark spots. I always set my concealer with a setting powder and an appropriately size setting brush. Here’s my fave setting brush of all time >
Because I like my foundation to do the heavy lifting in terms of coverage, I’ll use concealer on top of my foundation only to really polish my look or extend the life of my makeup for that day.
Recommended Reading: Under Eye Concealer Got You Down >
Blush, Bronzer, Highlighter
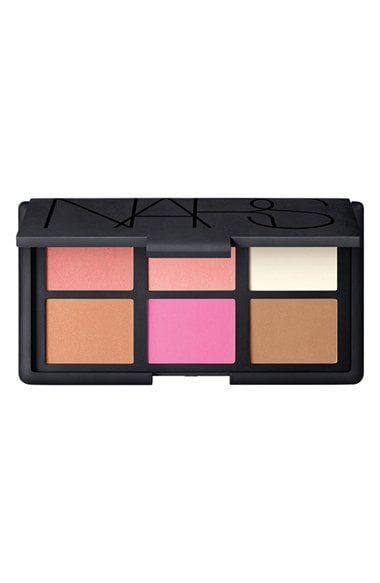
I like to call these products the holy trinity of makeup. They are so high-impact and versatile, they can really make or break a look. They can age you in a pinch or shave years off.
If you do decide to even out your skin tone with foundation, then you must employ the use of at least one of these three products. Not only do these products help to give your makeup a more lifted look, but they give you some extra pep in your step.
Generally speaking and in your youth, you’ll begin your blush application on the upper outer corner of the apples of your cheeks. Your highlighter will begin at the high points of your cheeks. Your bronzer, generally a darker shade or two than your skin tone, goes where the sun kisses you. While it’s hard to explain in words and even in a makeup tutorial. Why? Because we all have different face shapes! Again, I have an excellent diagram in my book to help you determine exactly where to put your blush, bronzer and highlighter.
There’s an enormous amount of products, primers, neutralizers, concealers, foundations, powders, bronzers, highlighters, blush, etc. and I know that it’s super confusing to know which you need.
One of my rules of thumb — something I bring up in my book Be Your Own Makeup Artist — is that less is more. You definitely don’t need to wear tons of makeup to wear makeup. And guess what? Wearing a lot of makeup won’t make you feel better about yourself. Sometimes it might even make you feel worse. In the end, it’s all about wearing the right makeup in the right amount for you.
Step 3: Eye Makeup
So, the third step in your makeup application is the eyes and brows.
With so many different colors to choose from, selecting what eye makeup to wear (or skip) may seem like a daunting task.
When you start thinking like a pro, eye makeup isn’t as complicated as you think. Aside from those one-off special occasions we attend, most days a simple eye makeup application is suitable for day-to-day. Unless of course you want to go full glam smokey eyes with false lashes everyday, you do you (but you if you’re reading this post, you probably need to learn the basics first!)
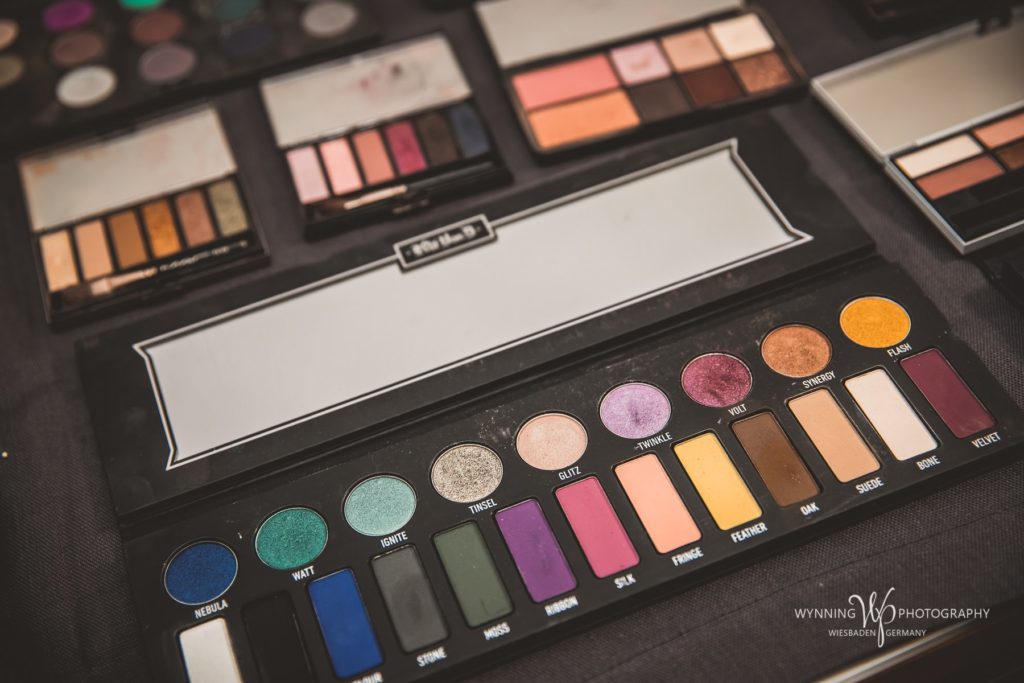
So yes, while all the beauty tutorials are telling you to buy that new eyeshadow palette with 40 shades, I’m giving you permission to stop buying all those shiny new palettes and instead, really invest in a few shades that are flattering to your eye color, eye shape, and yes again, skin tone.
Recommended Reading: 6 Questions To Ask Yourself Before Buying That Makeup Product >
Shop from your own collection, and curate a custom palette. Learn more about depotting your makeup here >
Sometimes the basics (brown, black, cream) are plenty! Unless you’re going to create a super glam look, having a bunch of colors is not necessary.
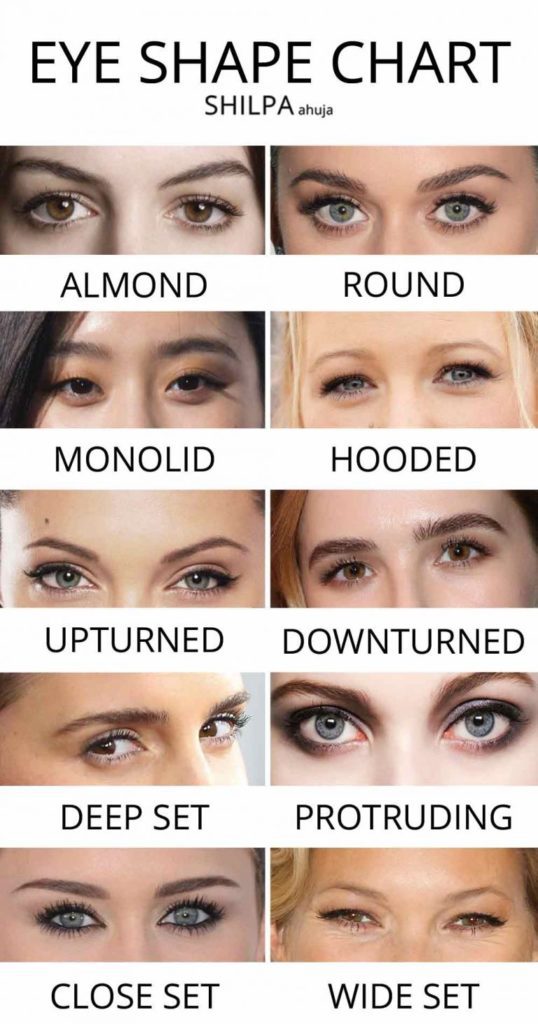
Prerequisite: Determine Your Eye Shape
This sounds basic but it’s so important. There are oodles of tutorials and articles written on how to determine your eye shape. I also include a section inside my course with detailed diagrams in how to scientifically determine your eye shape (because I am a makeup nerd after all). Either way, you need to first determine your eye shape in order to know what you need.
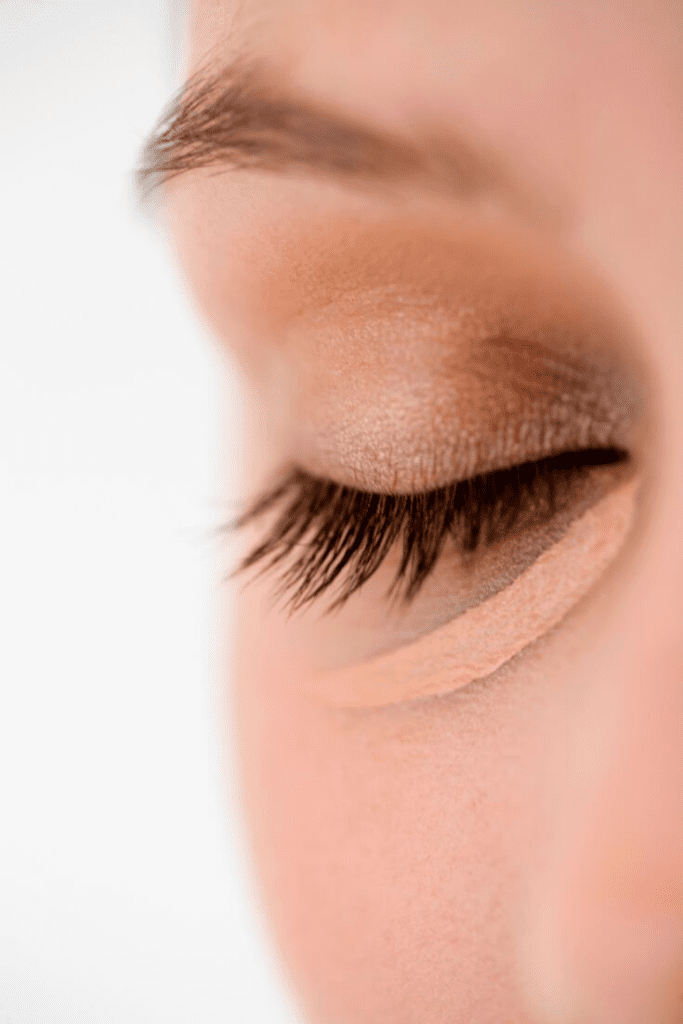
Step 1: Eyeshadow
Eyeshadow is that one cosmetic product that almost all makeup wearers are initially drawn too. I could write a book on eyeshadows alone! As a matter of fact, there are books dedicated to eyeshadow alone!
For day-to-day, I skip eyeshadow.
For a more elevated day-to-day look, I’ll use one, maybe two eyeshadows max. Eyeshadows whose colors exist in my eyes.
If you want to learn more about eyeshadow and my approach to applying eyeshadow, check out this post on how to apply eyeshadow like a pro, every time >
I also published a popular eyeshadow coloring book, where you can practice your eyeshadow looks on paper before practicing on yourself. Check out more about this book here >
Step 2: Eyebrows
I personally don’t really need to spend much time on my brows. That’s because there’s a lot of contrast between my brows and my skin tone. Here’s what I do when I want to look a bit more polished but if you fall into this category, you can skip brows! Yay!
View this post on Instagram
But if there isn’t much contrast between your brow color and your skin tone (ex. fair skin, blonde hair or deep skin, light brown hair), then investing in quality eyebrow products is going to be a solid investment.
When it comes to your brows, having them “done” can really make a big difference.
Three Pro Eyebrow Tips:
- A wand brow gel offers the quickest bang for your buck. Glossier’s “Boy Brow” is a classic and it’s super easy to use.
- An eyebrow pencil is another quick way to do your brows, just don’t forget to blend it with the spoolie (normally they are attached to the pencil).
- Potted Eyebrow gels are also great if you have more time and want a lot more umpf. You need to invest in a good eyebrow brush and spoolie. If you have shaky hands, using gels may be harder and frustrating.
Again, if you want to really learn more about the different types of products an why you would want to use one over the other, you’ll find all of that an more inside my book, Be Your Own Makeup Artist.
But remember what I’ve told you: less is always more! Don’t overdo it. Your brows will look amazing if you just tame them and fill them out a little. What you don’t want to do is go so overboard that it looks like you drew completely new eyebrows on your face.
Step 3: Mascara
The most important product in my kit is mascara!
I love mascara for me because it’s the most high impact. I feel naked without mascara.
View this post on Instagram
But did you know it’s not really the mascara that’s making all the magic happen, the magic is inside the mascara wand. Different wands create different effects. It’s my favorite diagram in my book. But generally speaking, the thicker the wand, the more volume. The more tapered the wand, the more detail oriented. Etc.
Curling your lashes before mascara, for most people, is one of the quickest and easiest eye lifting techniques out there. It’s worth the extra 30 seconds, okay?
Don’t forget to apply mascara to your lower lashes. Our lower lash lines are often neglected because we don’t want to draw attention to our under-eye area, especially as we age. But balance and symmetry in our eye makeup is important. You don’t need to use a lot of product down there, just whatever is left on your wand or brush.
Step 4: Eyeliner
For most makeup beginners I say skip eyeliner until you are really confident with your mascara application. Now I understand some people cannot wear mascara. If you cannot wear mascara or if you’re already comfortable with your mascara application, I suggest start tightlining first.
Tightlining is one of my favorite makeup hacks that, like mascara, instantly brightens and opens up the eyes.
View this post on Instagram
Step 4: Lips
Lip makeup is something that can be really intimidating for people. There are so many different lip colors to choose from and it can seem hard to know which colors work for you. Then there are so many different types of products, from a basic lip balm, to a lip gloss, to a liquid lipstick — it can be hard to know which one will be right for you. Then, you want to know if you need a lip liner.
We’ve all been in the situation where you want to try something different so you go to a Sephora and you start to test out all the bold, sexy colors. But, there’s so many different versions of even a basic red. There’s a red with an orange undertone, a blue undertone, a brown undertone… how do you know what will make you feel beautiful and what will make you feel like a clown?
Here’s a pro tip when it comes to lips (well, pro tips)…
- Find the lightest color on your lip… that’s your daytime nude color.
- Find the darkest color on your lip… that’s your evening nude color.
You can buy a matte lipstick in those colors and sheer it out (read make it less intense) with a lip balm or wear it as-is topped with gloss for a more dramatic look.
Recommended Reading: I talked a little bit about this in my blog post called What’s The ‘Ish’ With Lipstick but basically, you just have to know how to shop for your specific shade! Also check out my interview with the queen of color theory for makeup artists, Terri Tomlinson.
Again you will find some helpful full-color graphics to help you discover your colors in my book, Be Your Own Makeup Artist. It also has a helpful color wheel that will help you understand which colors will work best for you!
I firmly believe that you don’t have to wear a bold lip to have a put-together makeup look, but I don’t think you should leave them completely naked. If you want a natural subtle look, try a tinted balm… that’s my personal favorite everyday lip look!
Bonus Step: Define Your Makeup Style!
You need to know where you want to go in order to get there. Before you can apply makeup confidently, you need to know where you’re going. You have to have your overall look in mind!
You’ll need to determine for yourself if you want a more natural look or a more glamorous look. Keep in mind that a natural makeup application is going to require the same skills as a makeup makeup look, it’s just going to be different colors and formulations for the most part. That’s right… a ‘no makeup look’ still requires makeup!
While I tried to round up some great tips for you, makeup brushes were not covered in-depth. You need the right tools to do the job and those tools are going to make your drugstore makeup look like a million bucks.
Ready to dig in and learn how to wear makeup? Look no further!
Gain the confidence to shop for and apply makeup that suits your unique features and lifestyle. My “Learn Makeup in 5 Days” course contains easy-to-follow video lessons designed to teach you a simple four-step everyday makeup look that you can master quickly each morning.
You’ll learn to identify your skin type, as well as your face, eye, eyebrow, and lip shapes. You’ll learn which types of makeup products and colors will work best for you and I’ll give you some of the key makeup hacks the pros use to save time and money.
“I absolutely loved the course. I’m pretty much a makeup beginner and this really truly helped me to get the confidence of a foundation of knowledge to begin exploring! I’m super happy and can’t wait to keep practicing.” – Alexi C.
“Your course has encouraged me to explore what’s right for my stage in life. I now have a notebook full of information that fits with my sustainability practices, my budget, and my age-range (70’s). Your course has given me a self-confidence boost.” – Wendy H.
Beauty is about perception, not about make-up. I think the beginning of all beauty is knowing and liking oneself. You can't put on make-up, or dress yourself, or do you hair with any sort of fun or joy if you're doing it from a position of correction.
kevyn aucoin
