

")


Originally published on September 7, 2018.
Updated August 9, 2023.
If you’re getting professional headshots taken in the near future, you’re probably starting to think about what to wear and how you’re going to do your hair and makeup and if you landed on this post, then you’ve likely booked a headshot photography session, decided you are going to do them yourselves (or have a friend take them), or your company has scheduled them for you. Congratulations! Having a good headshot is critical in organically promoting who you are professionally.
And as a professional makeup artist and educator who spent years working with professional photographers, corporate clients and professionals on headshots and corporate headshot campaigns, I can tell you with 100% confidence that high-quality headshots get 100% ROI (return on investment).
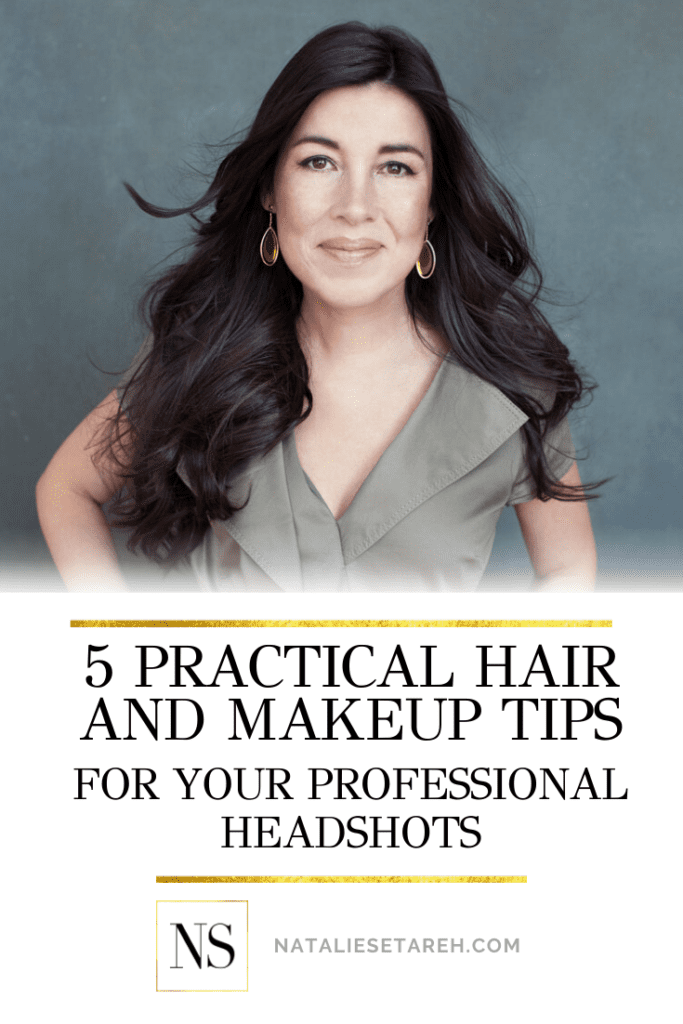
In this post, I’ll be sharing five practical tips to help you approach your headshot makeup. However, if the thought of doing your makeup yourself and selecting your outfits is daunting — consider hiring professionals to do those things for you (budget permitting, of course).
If you’d rather not pay professionals for this one-off service -or- you find yourself in the spotlight quite a bit and being on-stage or on-camera seems to be like the new normal, I encourage you to check out the Confident On-Stage Masterclass. Instead of having your style and makeup done-for-you, professional stylist Tammy Parrish and I teach you in a one-hour masterclass (with TONS of bonus materials) how to do the perfect makeup and select the right outfit for photoshoot. This masterclass is brought to you be our bespoke, 1:1 image consulting program Create Your Signature Look.
Listen To This Episode: Apple | Spotify | Other
And don’t forget, business owners, your headshot photo sessions (and all the expenses that go into it) and/or the Confident On-Stage Masterclass are tax write-offs, so track those expenses and write them off.
Assumption 1: Professional = Anyone with a job
Please keep in mind that when I use the word ‘professional’, it doesn’t mean having an office job with a business suit. Anyone who has a job is a professional — and in this highly visual day and age we live in, our professional headshots end up being our go-to profile picture on social media, our company’s website, LinkedIn, etc. Our headshots showcase our personal brand. So whether you are opting for a more casual look in your headshot or you want the traditional business portrait,
Assumption 2: You’ve Already Hired the Right Photographer For the Job
Please keep in mind that your headshots are only as good as the photographer. While you might know of a good photographer in your area who, say shot your wedding or family portraits, they may not be well versed in headshot photography. Their technical skills needed to produce a high-quality photo my be lacking.
Hands down, the right headshot photographer can make all the difference in how you look and feel in your photos.
You obviously have an idea in your head what you want your headshots to look like. So when choosing a headshot photographer, there are a few things to consider:
- Experience: Make sure the photographer has experience shooting headshots and showcase headshot photos in their portfolio. A headshot photographer should be able to help you feel comfortable in front of the camera and capture your personality (or the persona you want to project) in the photos.
- Style: Consider your personal style and brand and what you want your headshots to convey. Do you want a classic, professional look, or something more creative? The photographer’s style should match yours. Are in in search of a signature look? Click here.
- Price: Headshot photography can range in price from a few hundred dollars to several thousand dollars. Set a budget before you start looking for photographers so you don’t overspend.
- Location: If you’re looking for a specific location for your headshots, make sure the photographer is willing to shoot there. Some photographers only shoot in natural lighting, or in front of large windows. Some shoot in studio lights, using a white background and/or white reflectors. Refer to your goals for the photo and what you hope to convey through the photo and make your decision based on that (unless of course your company has a set ‘background’).
- Team: Some photographers work with professional makeup artists and stylists. They may outsource their editing.
Once you’ve found a few photographers who meet your criteria, schedule a consultation with each one and find the one that makes you feel the most at ease. Don’t skip this important meeting — meeting the photographer on the same day as your photoshoot (especially if you’re not used to being photographed) can be nerve-wracking.
Remember that Confidence Is the Most Important Part of a Headshot!
This might be a controversial and albeit cliché, but confidence is the most important thing you need to see in a headshot. And the best way to feel confident in a photo is when you’re comfortable. You’re comfortable when you know you look good… and for many of us, that has to do with what we’re wearing and how we do our makeup (or how our skin looks).
Wear what makes sense for you and your brand!
Tip #1 – Hyper-focus on Skincare One Week Out
Skincare is everything.
As you may know, I’m a makeup artist and educator not an esthetician. However, I know from first-hand experience that makeup simply doesn’t work well on ‘naked’ skin or play nice with skincare products that are not formulated for your skin type.
While I’m a huge advocate for skin care (akin to brushing your teeth), I know before a big photo shoot or professional headshot session, it’s important to really focus on your skincare routine. The first thing I do with my talent when I’m on-set is prep their skin for makeup… and this can sometimes take almost as long as applying makeup (depending on their skin at the time of the shoot).
“But can’t the photographer just edit my pictures to look better?”
While it’s true that yes, a good professional photographer can help edit your photos in a way that will ensure you look your best, nothing makes their job easier than going into a photo session with hydrated, supple skin (with great makeup, of course).
If you have fine lines, blemishes, acne-prone skin and/or acne scars, scar, or skin concerns that make you feel self-conscious, I encourage you to talk to the photographer (and/or makeup artist if you’re hiring one) concerns beforehand. If you know your best angles or the lighting temperature that makes you feel the most comfortable, let them know before the shoot. Waiting to let them know on the day of your shoot can doesn’t give them much time to plan accordingly.
Bottom line: Remember that makeup cannot change the texture of your skin. While yes, photographers can smooth out texture of the skin in your photos, a professional headshot should not be over-edited and the best way to avoid this is to hyper focus on your skin as soon as you know you have a photo session coming up. (And really, you should care for your skin everyday).
Read the 4 Things Makeup Artists Can (and Cannot) Do here >
Skin Type Resources:
Need a skincare routine? Check out this post (bookmark it): Skincare For Beginners: Build Your Skincare Routine in 5 Steps >
Don’t know your skin type and which products to use? Grab my free Skin Type Guide here >
Schedule a Basic Facial
One way to hyper focus on skincare before your headshot photo session is to book a basic facial with an esthetician you trust. If this isn’t in your budget, set aside time to give yourself a facial. I emphasize basic facial because I wouldn’t recommend doing anything “extreme” right before your photos (like microdermabrasion or extractions) since you just can’t be sure how your skin will react.

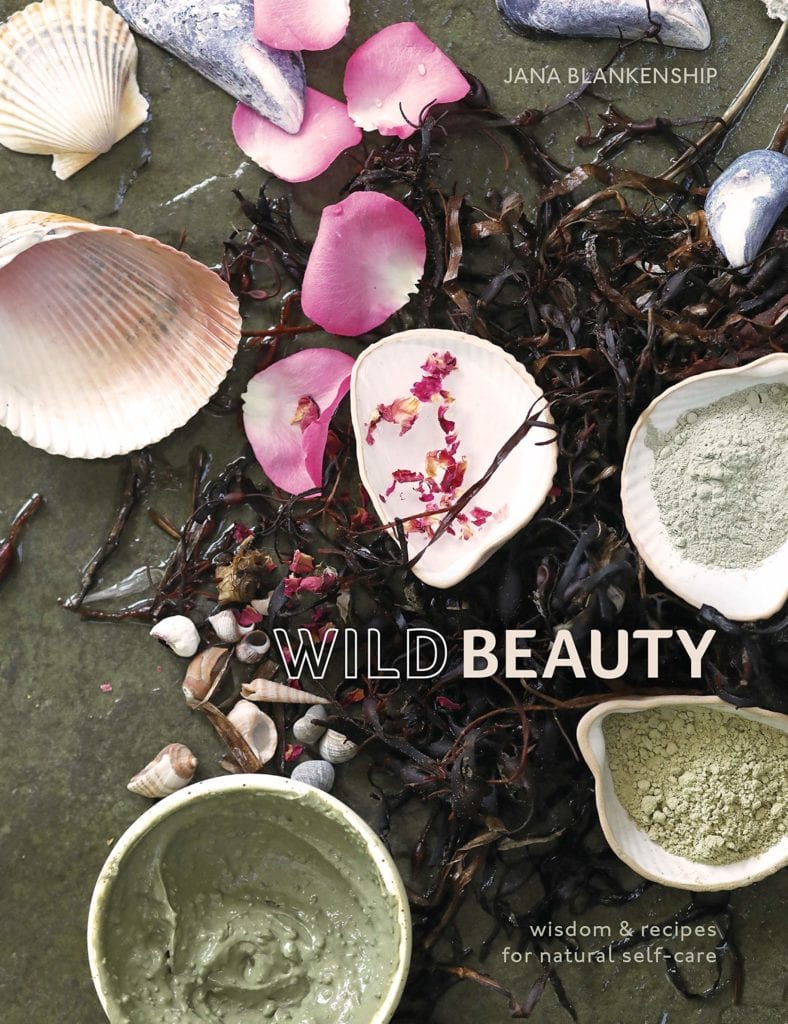
If you want to DIY your facial (and other DIY cosmetics), I highly recommend Wild Beauty by Jana Blankenship.
Make Sure To Drink Enough Water

Water is NOT a miracle cure for dry or aging skin, but water and extra hydration doesn’t ever hurt. But being properly hydrated helps tighten skin, minimize pores, brighten skin tone, etc. I’m not a doctor — so I don’t know what your daily water intake should be. But we all know that hitting our water goals improves our lives in so many more ways than just glowing skin.
Tip #2 – Makeup Application Tips
Ok here’s the deal. I’m not here to just give you empty makeup product recommendations. For example, the best type of foundation for you may be different than for me based on our skin types, skin care routines, personal preferences, beauty goals, consumer values, possible allergies/skin sensitivities, and budget. The right makeup products for each one of us vary from person to person, preference to preference.
So before I give you some makeup tips, here are three things approaches you need to take when doing your headshot makeup.
- If you already have a solid makeup routine and have makeup you are confident in using and wearing, test out your makeup look for your headshots in the same lighting you’ll be photographed in. In most cases, especially with studio lighting, you’ll simply need to apply more than you usually do for it to appear on camera. Pro Tip! If you don’t want your skin to appear sallow or eyes sunken in, make sure you’re using the right foundation and that it’s doing the heavy lifting on evening out your skin tone on camera! If you *just* need help putting together a makeup look (and outfit for that matter), check out my Confident On-Stage Masterclass! It’s designed for people who already know how to wear makeup but need help doing their makeup for a special event (like headshots).
- If you wear makeup but don’t really know what you’re doing or if ‘it’s’ working, it’s time to learn! Whether you self-learn by reading blogs (like this one), read makeup books, take makeup courses (like mine, ‘Learn Makeup in 5 Days’), or work 1:1 with a makeup artist through private lessons (I have my ‘Create Your Signature Makeup Look’ program, if you’re interested), it’s time to stop being a victim to sponsored beauty content whose #1 goal is to sell you more products. When you invest in yourself and learning, you’ll get so much time freedom, confidence, and I promise — every area of your life will feel easier!
- If you aren’t a regular makeup wearer and have no plans on becoming one, hire a makeup artist. It’s way cheaper than buying all the beauty products you’ll need for your headshots! And if the makeup artist has a minimum purchase requirement on makeup… find another makeup artist! The last thing you want is a bunch of makeup that you don’t know how to use, have no desire of using, and that will expire and literally end up in the trash can!

If you would like personalized product recommendations, book a consultation here >
Foundation Does The Heavy Lifting In Your Headshot:
When I say foundation, I mean anything that evens out your skin tone. What I definitely don’t mean is foundation with a caky look. While cake-y and heavy makeup may look good in a theater, it rarely if ever looks good on camera or in real life.
Foundations are going to be the heavy lifter for your headshot makeup. That’s because most headshot photos are from the chestbone/shoulders on up.
If you have dry skin, avoid powder or foundations that are ‘mattefying’ — reach for dewey or silicone-based foundations
If you have oily skin, avoid silicone-based or ‘dewey’ foundations — reach for powders, matte or ‘mattefying’ foundations
If you have combination skin, I suggest using a primer in the t-zone and using a cream/wax-based foundation
If you want to dig deep and really understand what formulation and coverage would work best for you, grab a copy of my book, Be Your Own Makeup Artist. The book breaks everything you need to know about foundation (and more) in an easy-to-read-and-understand format.
Some Rules of Thumb for Foundation:
If you have dry skin, avoid powder or foundations that are ‘mattefying’ — reach for dewey or silicone-based foundations
If you have oily skin, avoid silicone-based or ‘dewey’ foundations — reach for powders, matte or ‘mattefying’ foundations
If you have combination skin, I suggest using a primer in the t-zone and using a cream/wax-based foundation
Tip #3 – Keep Makeup “On Brand” With Yourself
People are always surprised to find out that I’m a makeup artist (and a former military officer). Why? Because I don’t wear dramatic, ornate makeup — dark eyeshadows, a smokey eye, a bold lipstick color — on a regular basis. When most people see me day-to-day, they see me in classic, minimal makeup. So having a headshot with : MAC makeup counter makeup on :: wouldn’t be ‘on-brand’.
Don’t experiment with new colors and color combos on the day of your headshot — not only will you likely feel uncomfortable (and look uncomfortable as a result), you won’t looke like “you” and it may confuse your audience.
If you struggle with defining and having a signature makeup look — please know that inside of both my Learn Makeup in 5 Days course as well as my 1:1 Create Your Signature Makeup Look program, I help my students and clients map out and define their look. The best (and coolest) part of my job is seeing how everyone has a different style.
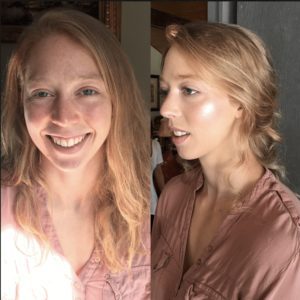
No Makeup, Makeup Before and After
This glowing bridal look highlights her natural features, making her radiant and glowy.
If you never wear makeup, it doesn’t really make sense to wear a lot of makeup in your headshots.
However, you can use makeup to enhance your natural looks without it being noticeable. The actual quantity of makeup that I apply for a “no makeup” look is about the same as a more dramatic look. However, the way it’s shaded, blended, and applied photographs beautifully and naturally.
So bottom line: if you don’t wear eyeliner or a bold lipstick every day, skip it. You’re going to feel uncomfortable and your lack of confidence is going to show through in your photos. Stay true to you!
Tip #4 – Check Color Combinations
If you’re a business owner or work for a company with brand colors and you plan on using your headshot photo(s) on your or your company website and/or marketing materials, double-check to make sure the colors don’t clash!
I’ve been asked by so many entrepreneurs to help with their makeup for YouTube videos or webinars. One thing I noticed is that they would unknowingly choose a lipstick, blouse, eyeshadow, or accessory that clashed with their brand colors (and/or the brand they were trying to portray).
For example, one of my Create Your Signature Look graduates loved to wear this gorgeous warm coral lipstick for all her videos and pictures. She thought that by wearing this bold lip color that she loved, she wouldn’t have to worry about the rest of her makeup. That’s totally fine, but her logo at the time was red. So when she was photographed in that lip color next to her logo featuring her red branding, it really clashed. Plus, *just* wearing lipstick
So, we changed her lipstick to a cool, red color that was in the same family as her logo. The impact was shocking! Everyone on her visual team noticed immediately and was blown away by how this one little change made such a big difference.
All I’m saying is… colors matter.
If you’re using your headshots for your website, social media pages, or brochures, choose colors that match your brand.
No matter what you do, there’s a uniform that goes with it (with some exceptions). If you’re a tattoo artist, you might rock a winged liner and red lip. That’s part of your brand image! If you’re a photographer, you probably wear something comfortable and more casual, but polished. I tend to wear mostly black with the occasional pop of color.
For your headshots, wear what you normally wear most work days… just elevate it.
Check out my free Elevate Your Image Guide > Inside, you’ll find ways on how to elevate your look with items you likely already own!
Tip #5 – Think About What You Wear to Work Most Day
https://www.instagram.com/p/Bjf3wg9nObN/?taken-by=nataliesetareh
No matter what you do, there’s a uniform that goes with it (with some exceptions). If you’re a tattoo artist, you might rock a winged liner and red lip. That’s part of your brand image! If you’re a photographer, you probably wear something comfortable and more casual, but polished. I tend to wear mostly black with the occasional pop of color.
For your headshots, wear what you normally wear most work days.
Bonus Tip #6: Don’t Forget Your Hair (& Nails)
Similar to tip 5, it’s important to plan out how you want to wear your hair (and how it feels most comfortable). Please keep in mind that editing hair is extremely hard for photographers. Sure the one strand fly away on top of your head is one thing but editing that one tiny hair that got stuck on your lip gloss…. that’s another thing. Make sure to plan how you will wear your hair in a style that makes you feel like a million.
Think about how you normally like to wear your hair. If you’re naturally curly and you wear your hair curly 90% of the time, don’t straighten it for your headshots.
Already a pro at doing your hair and feel confident in your skills? Make sure to bring a comb and perhaps some hair wax to keep fly aways and stray hairs in place.
Hiring a makeup artist for your headshot? Ask if they can also do basic styling (or know someone who can). Most of them can accommodate a blow out, curls, or a half-up updo. Pay them extra to stay on-site during the shoot — and they’ll take care of all your makeup and hair touch-ups! Seriously, having a hair stylist on-set was always a life saver. They will charge you an additional fee but it’ll be worth it knowing it looks good!
If you are hair clueless, consider asking your hair stylist for a styling lesson and plan for your headshot. Don’t have a hair stylist? ask people who have similar hair to your with cuts and styles you like and see who does their hair. That’s the best way to find someone! And of course, if you don’t have the budget for hiring a pro to help you with a style or doing it for you, there are so many hair stylists offering tutorials online. Find one that has your same hair texture and length in a style you like and practice, practice, practice.
Closing Thoughts
Ultimately, your personality and your brand needs to shine through. Your hair and makeup subtly call out to your ideal client. It can also let them know what to expect from you. They’ll think, “is this someone I can see myself working with?” When potential clients see your photo, they’re going to form an opinion about whether they will like or trust you. That’s why it is SO important to pay a little extra attention to your hair and makeup before your professional headshots!
What’s the number one thing you’re going to take away from this article as you prepare for your headshots? Do you have any other questions for me? Let me know in the comments below!
Beauty is about perception, not about make-up. I think the beginning of all beauty is knowing and liking oneself. You can't put on make-up, or dress yourself, or do you hair with any sort of fun or joy if you're doing it from a position of correction.
kevyn aucoin
